Wednesday, April 27, 2011

Developing Green Tea Panna Cotta

The transition from spring to summer happened quickly here in Philadelphia with weather topping eighty degrees.  While I still like ending the day with something sweet, the hot weather makes the prospect of a heavy cake or sweet dessert unappealing.  With that in mind, I set out to prepare an interesting plated dessert appropriate for a warm summer evening.  I knew I wanted something that would not need to cook long so I would not need to spend long in a hot kitchen.  In addition if the dish was served cold that would be a bonus. 
When building plates I like to try to play with as many contrasts as I can.  For example, pairing sharp flavors with richness, bold colors with subtle shades, and crunchy textures with creamy.  As important as the contrasts are to a plate there also needs to be something toothsome and substantial that draws you to the plate; something you’ll want to eat.  Finally, everything needs to be held together in a logical way.  This may be because all the elements share common tastes, smells, or something even more obscure.  In molecular gastronomy chefs are pairing foods based on chemical esters that they share like mango and pine or white chocolate and caviar.
I started developing this plate at the farmers market.  I knew I wanted something sour to be refreshing on a hot evening.  I was lucky to find some early rhubarb in one of the stalls.  The crisp flavor of rhubarb is often overlooked.  The only time it seems to turn up on menus is in a pie paired with another spring fruit, strawberries.  In books from the late nineteenth century rhubarb is often referred to as pie plant.  I bought a bunch to make a sour rhubarb jam.
With the jam I knew I wanted something rich.  I didn’t want rich like a cheesecake that would be cloying, just enough to offset the crispness of the jam.  I choose to make a panna cotta. A specialty of the Piedmont region in northern Italy panna cotta (or cooked cream) makes good use of the great dairy products the region is known for.  You can think of panna cotta as a milk jello.  Sweetened heavy cream and flavorings, often vanilla, are cooked together and thickened with gelatin.  It would seem that this dessert would be too rich for a hot summer night but cold from the fridge it is surprisingly refreshing.
Panna cotta is similar to the French crème bavarois that is also thickened with gelatin; but where crème bavarois is lightened with whipped cream the panna cotta has a thick texture.  It is more like a crème caramel, it is easier to make and requires less cooking than crème caramel that uses egg yolk to bind it.
Instead of the traditional flavorings of vanilla or coffee I wanted to do something lighter and perhaps more amusing.  The jam will be a vibrant red when we make it and that made me want to add some color.  On the shelf I found some matcha, a powdered green tea with a very fresh taste.  The red and green would be a good color contrast.  The tea flavor would pair nicely with the lemony flavor of the rhubarb jam.
To make the panna cotta soak the leaf gelatin in cold water.  On the stove-top combine the milk and heavy cream with sugar and heat to dissolve the sugar.  A pinch of salt added at this point will make everything seem sweeter.  Take the pan off the heat, everything should be at the simmer not boiling.  Squeeze the water out of the gelatin sheets and stir them into the hot liquid.  Use a spoon, not a whisk, as you don’t want to mix in a lot of air to the dessert.  Next add the powdered green tea (matcha) and stir it in.  It’s important that the milk be cool at this point.  If it’s hotter than blood temperature the tea will taste more like cooked spinach than fresh tea.  Strain the mix and pour into chilled molds.  I used muffin tins as molds, old yogurt cups would work also work well.   Cover with plastic and refrigerate the pana cotta until they are set firm, about six hours.
For the jam I used equal parts, by weight of rhubarb and strawberries.  The strawberries add some sweetness to cut the sharpness of the rhubarb.   Finely ice the rhubarb stalks and the strawberries and put them in a dry pan with half the weight of the rhubarb, by weight, and begin to cook over moderate heat.  The fruit will begin to sweat and give up some liquid.  To the pan add port to enhance the rich red color and grand mariner, an orange brandy, for a deeper flavor.  A few twists of black pepper a nice exotic flavor to the jam.  Cook slowly for about 20 minuets stirring occasionally until the jam thickens.  Let the jam cool.
The jam is great to use at this point and would be nice with pork, chicken,  cheese or toasted bread.  To make it more of a sauce like consistency put the jam in a blender with 2oz of port and a splash of the grand mariner and blend till smooth.  It should now be pourable, if not add a small amount of water and blend again.

With the panna cotta which has a soft texture it is nice to serve something crisp and crunchy.  Often it will be served with a tuille (a crisp cookie similar to a fortune cookie) or a shortbread cookie.  In keeping with the developing Asian theme of the plate I decided to try to make a taro krumbcake, a wafer shaped cookie cooked in a hot iron press similar to Italian pizzelles.   I added powdered taro (a malty purple yam) and desiccated coconut to a standard krumcake formula and cooked them a tablespoon at a time in the hot iron.  If you didn’t have a krumcake press you can buy pizzelle cookies ready made in many supermarkets.
To plate, pour some of the rhubarb sauce onto the center of a large plate and roll the plate to spread it thin.  Run a thin knife around the edge of each panna cotta the turn them out onto a sheet tray.  Place one in the center of the plate.  I was delighted by how the matcha precipitated out of the mix and collected at the bottom of the mold creating a stunning jade effect. I wish I could claim it was on purpose this time.  Next time I think I’ll mix in some gold powder to enhance the effect.  Finally garnish with strawberry and the taro krumcake.  I plumped some basil seeds in water and scattered them over the sauce.  They don’t add much in the way of taste but they are visually very interesting and their slight minty flavor picks up the strawberry nicely.

All the recipes I developed for this plate follow.  I hope you enjoyed watching it come together and will try one or all of the components for yourself.

---------------------------
Green Tea Panna Cotta
---------------------------
4 leaves gelatin
1 cup milk
1 ¾  cup heavy cream
½ cup sugar
Pinch salt
2 tsp Matcha, powdered green tea

-soak the gelatin in cold water
-combine milk, cream, sugar, and salt
-heat over moderate heat till sugar is dissolved.  Remove from heat
-Squeeze excess water from gelatin and stir into milk mixture
-Stir in Green Tea Powder.  Let sit 1-2 minutes then strain
-pour into molds and chill 6hrs till set firm

---------------
Rhubarb Jam
---------------
(Sorry, scale was set to metric)

200 gm Rhubarb Stalks, finely diced
200 gm Strawberries, finely diced
100gm sugar
4tbs Grand Mariner
2tbs Port Wine

-In a dry pan combine fruit and sugar, add grand mariner and port
-cook over moderate heat about 20min stirring occasionally till thickened
-add a few turns of black pepper
-cool, jam will thicken more as it cools

--------------------------- 
Coconut-Taro Krumcake
---------------------------
2 eggs
1 cup sugar
½ cup butter, cubed and soft
1 ¼ cup flour
¼ cup Powdered Taro
 (available at Asian Groceries)
¼ cup desiccated coconut
1 cup milk

-with a whisk beat together eggs
and sugar together till light and
lemon colored
-beat in cubed butter
-mix taro and coconut with the
 flour
-alternate mixing flour mixture and milk into egg mix till you form a batter slightly thicker than a
  pancake batter
-cook a scant 1 tbs at a time in a heated krumcake iron 15sec per side
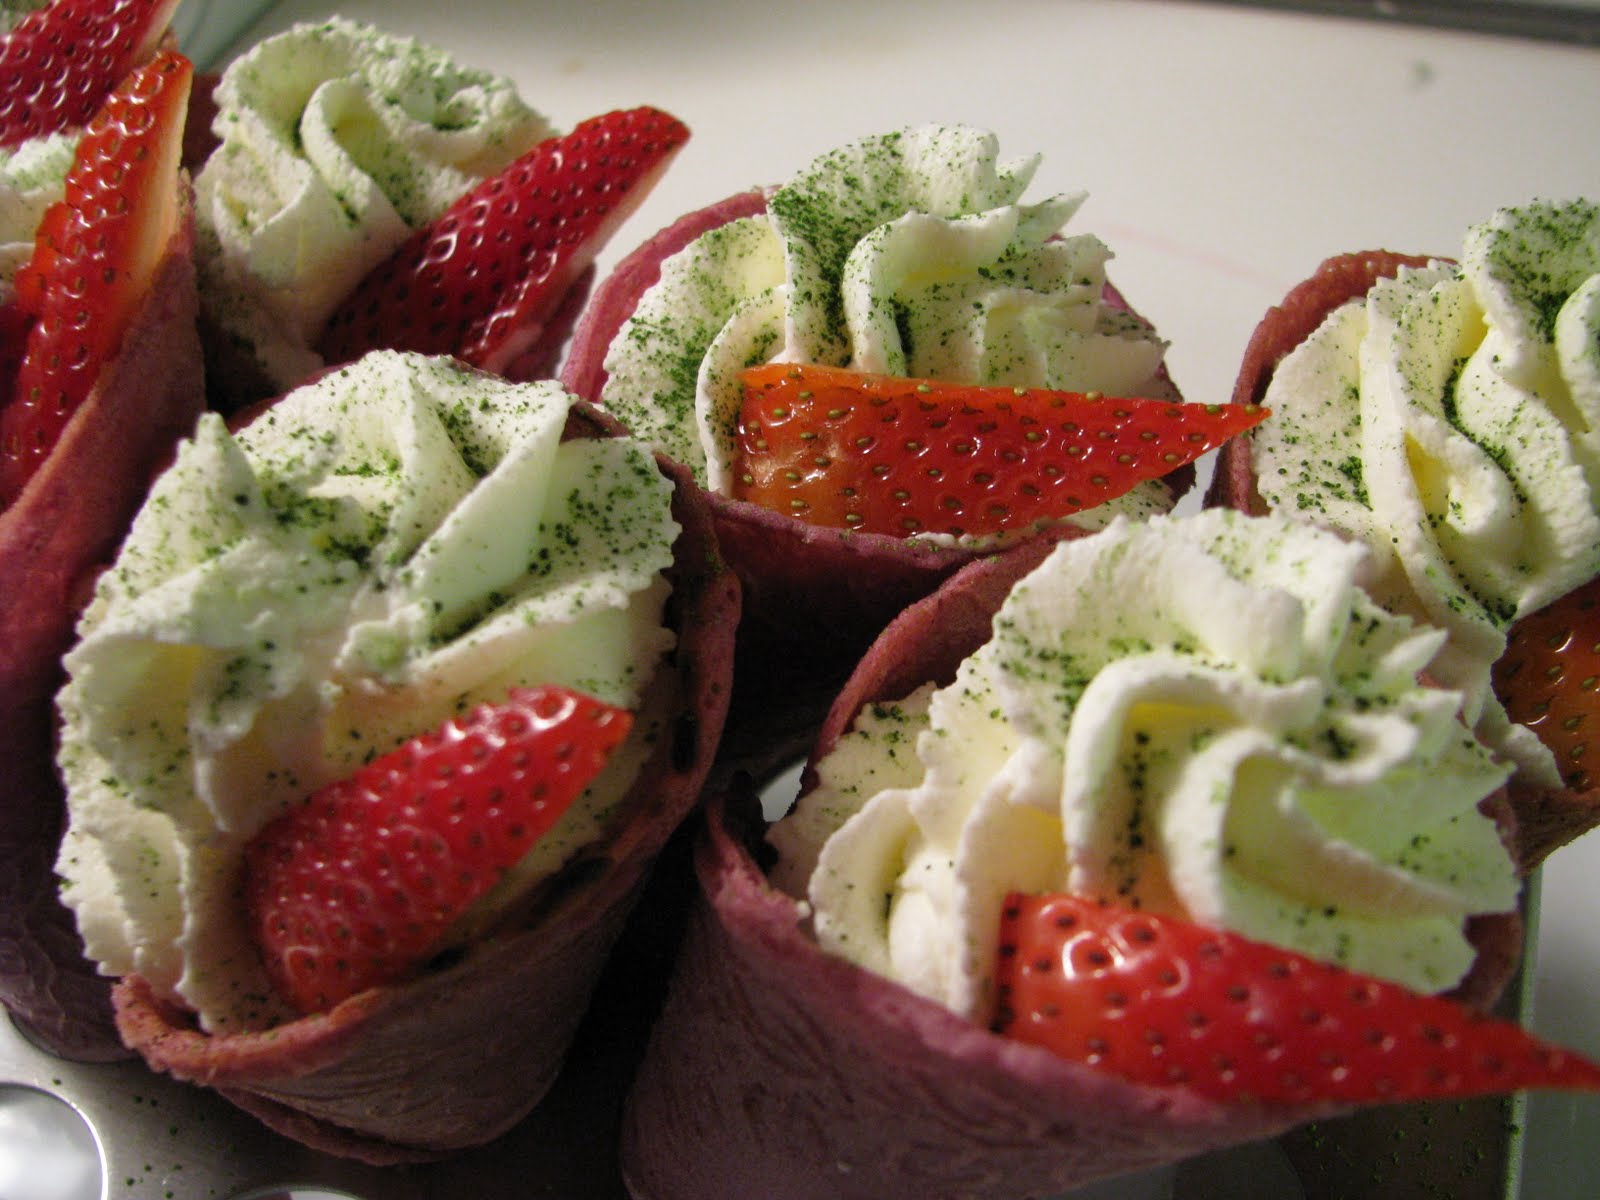
-while hot the krumcake can be rolled or shaped. 
(krumcake cones can be filled with fruit  or cream)

Monday, April 18, 2011

Spring & Romesco Sauce

Spring and I don’t have a great relationship.  The fault is mine.  I expect too much.  As soon as we can string together a handful of warm days I’m ready to get my herbs and vegetables into the ground.  Just the slightest hint of life in my garden and I’m off to the farmer’s market with quite unrealistic hopes.
So now, as I look over the beds along the side of my house there is a hint of green coming back to the sage.  Mixed among the buckets of dirt and hope, with their plastic labels of ‘borage’, ‘Nasturtium’, and ‘radish’ a pea has raised up a frail tendril and taken hold of the first rung of the trellis above it.  Surely I’ve waited long enough.  By now the market must be rich in bounty.  With visions of ramps and rhubarb alive in my head I grabbed a canvas sack and headed off to be disappointed again.
The market was as good as could be expected for early April.  There were lettuces that were local grown along with some of last year’s squash and potatoes.   I bought some exciting watercress and some very peppery feather-like arugula.  Everyone had spinach available but nowhere could I find something truly exciting to bring home.  April was not proving to be the June I wanted it to be.
Then I saw something interesting.  The scallions I had passed over had a small sign reading “our own: local grown”.  Now they weren’t the ramps I’d hoped to find but they looked ready to stand in for the role.  I bought up three bunches to bring back with me. 
Ramps are the wild cousin to the green onions that sit so tamely on every supermarket shelf.  They are broad leaved and smell strongly of garlic.  They normally start appearing in April on menus and last only a few months.  In Spain the coming of the ramps is greeted as an end to winter and the bars offer them grilled with a Romesco sauce.  That’s how I want to treat the scallions I bought.
I first tried Romesco sauce while in college, working at Just A Taste in Ithaca.  Jen, one of the owners, made a really amazing one.  It was completely unlike the French sauces I had learned to make in Culinary school.  Made not with stock but with olive oil it had a pronounced sweet and sour taste and had been thickened  with ground nuts and bread.  It seemed to resemble the Medieval sauces I was reading about which also used almonds as a thickener.  The flavor seemed exotic and Moorish but of course one look at the ingredients ended theories of ancient roots.  Both the tomato and the bell pepper would have been unheard of in Medieval Spain.  I wish I was giving you Jen’s recipe but unfortunately my notes from that time were lost many moves ago.
Instead I went into Ayna Von Bremzen’s book The New Spanish Table.  There I learned that the sauce originates in the Tarragona Region and may in fact have some root in medieval times.  The name Romesco may come from the old Mozarabic word ‘rumiskal’ meaning to mix together.  Bremzen’s book offers many versions of the sauce using ingredients as diverse as fish stock and chocolate but they all share some common traits.  One is the Nora peppers which are a dried sweet pepper.  They all also contain toasted nuts, garlic, bread and olive oil. 
Bremen says that there are as many recipes for Romesco as there are cooks.  That gives me the courage to try and recreate for you something like the Romesco I remember.  Because it’s a great spring day, and because we’re going to grill the onions,  I can create a recipe for the sauce that makes good use of a charcoal fire.  I’m hoping to get some smoky flavors into the Romesco sauce when we use the grill to concentrate the sweetness of the vegetables in the sauce.
All the grilling will happen quick and can be done early in the day.  It will be important to have everything ready so you can work quickly at the grill.   Finding Nora peppers in the suburbs of Philadelphia was not going to be possible so bell peppers would have to stand in.  Begin by oiling a red bell pepper liberally with olive oil.  Do the same for three Roma tomatoes, sliced in half.  Oil a whole head of garlic and wrap it tightly in four squares of foil.  Now is also a good time to trim up the scallions and toss them with oil and sea salt in a separate bowl.  Slice a thick piece of crusty bread for each person plus 2 for the sauce and lightly oil these as well.  Once all this mise en place is ready head on out to the grill.
With the coals and the grate of the grill hot we’ll start with the pepper.  You want to completely blacken the skin.  Leave it to cook for a few minutes on each side till its blistered and blackened.  When you’re happy with the result take it hot and wrap it in foil or in a bowl tightly covered with plastic.  As it cools it will steam in its own juice and the skin will peel off easily later.  By roasting the pepper we changed it from the gassy fresh taste of the raw pepper to a very concentrated sweet flavor and made it easier to pound into a paste later.
Next you want to mark the scallions.  Working in batches so as not to crowd the grill, lightly char the scallions.  You want them to be blackened in spots but not uniformly so.  They should be sweet and smoky, not burned so much as to be acrid.  Return them to their bowl.  We’ll heat them up again when we need them.
Now you want to mark the bread in the same way.  The pieces for the guests just try to get some gentle color on them with a little charring.  The two pieces for the sauce though, try to get those deeply toasted.  A bit more char here won’t ruin things but try not to burn them.  It helps to work on the colder edges of the grill.  In the end you want them almost crisp like a crouton.  Stale bread works well here but I never seem to have it when I want it.
Finally, we need to cook the tomatoes.  Place them skin down and blacken the skins good; like you did with the peppers.  When their done on that side if you can gently flip them cut side down and cook a couple minutes more.  They will dry out a bit so the sauce will not be a runny.  When you return them to their bowl if you have any fresh herb handy toss them in to steam with the tomato.  By the grill I had some thyme and some boxwood basil but what you have around, or nothing, will work fine.
By now the coals in my little grill have started to cool down.  Place the packet of garlic on the grill and close the lid.  The garlic can sit there, undisturbed for the next forty minutes as the coals die out.  When you come back to it, it will have transformed.  Where it was once sharp and biting it will have mellowed to a sweet, smoky paste.  Consider doing more heads of garlic than you need for this sauce.  You can store the roasted garlic paste in the back of the fridge for a week and use it to spice up all sorts of dishes.  It’s great with mashed potatoes or pasta.  Made into a compound butter with some parsley and anchovies it’s great smeared over steak.  Served with olive oil and bread it’s a complete lunch.
As the garlic cooks away we can begin to assemble the sauce.  Originally, Romesco would be made in a mortar and pestle but a food processer will make it quick and easy.  Peel away the blackened skin from the pepper you roasted and remove the seeds.  Tear the flesh into the bowl of the processer.  Next take the skins off the tomatoes.  Squeeze them gently and to remove some of the seeds and these can go into the processer. 
The two slices of bread for the sauce should be roughly cubed.  They should yield about half a cup of bread (if your short make up the difference now with some untoasted bread).  Start these frying in a little olive oil in a sauté pan.  As they start to get crisp add a quarter cup slivered almonds and continue to cook till the almonds take on a golden color.  Pour this all off into a bowl and set it aside for later.
If the garlic has cooked enough bring it in and carefully open the foil.  With the root of the bulb of garlic on your cutting board cut the bulb in half parallel to the cutting board.  This will expose all the individual cloves.  Now by pressing with the side of the knife you can squeeze out the roasted garlic.  Put the garlic paste from one head of garlic into the processer with the pepper and tomato.  Also add one uncooked clove of garlic. Run the food processor till this is smooth.
Add the bread and almonds to the processer and process again till smooth.  With the motor running slowly drizzle in a half cup of olive oil.  It will form an emulsion and you will see the color of the sauce change from a rich red to a nutty burnt orange.  At this point I add a pinch of cayenne pepper and a teaspoon of smoked paprika.  Ayna Von Bremzen warned against smoked paprika but here it keeps with the theme of our sauce.  You also want a juice of a lemon and about one tablespoon of sherry vinegar.  Spin the processer again to incorporate the seasonings.
Taste the sauce at this point for seasoning.  It will need a little salt.  You want to be sure you can taste the smoke from the paprika and the heat of the cayenne.  The pepper will get stronger as it sits but you should detect it at this stage.  Also make sure there is a pleasant tartness to the sauce from the lemon and vinegar.  You can add more at this point if needed to make the sauce sweet and tart.  The sauce is ready now but the flavors will be even better after a night in the fridge.
To make my lunch of grilled scallions I heated the grilled bread in the oven and the pre-grilled scallions in a dry sauté pan.  When the bread is warm, smear on a generous spread of Romesco sauce.  Top with sliced tomato and then the warmed scallions.  Another spoonful of Romesco completes the service.  I ate mine with quail eggs and arugula.  Any small salad or nice chips make this a great spring lunch.
Romesco is a traditional accompaniment to fish (especially monk fish), grilled vegetables, and eggs.  Its great with potatoes or as a sandwich spread.   It will work with lighter meats like chicken, veal , and pork but I think beef tends to overpower it.  Have fun and be creative.  The recipe I described above and outline at the end of this article makes enough to use over a week for many meals.
I’ll leave you with a great side that couldn’t be easier.  Simply boil some small potatoes in their skins.  Drain, and while they are still hot toss them in the Romesco.  Because the sauce has so much depth of flavor the potatoes are amazing.  Your guests don’t need to know how easy it was.

-------------------------
My Romesco Sauce
-------------------------
1 bell pepper, red
3 Roma tomatoes
1 head garlic + 1 clove
2 thick slices crusty bread
¼ cup almonds, slivered
½ cup olive oil
1 lemon
1 tbs sherry vinegar
1/8 tsp cayenne pepper
1 tsp smoked paprika

-Roast the pepper, peel and seed
-Roast tomatoes, peel and seed
-roast garlic (reserving one clove raw), squeeze out paste
-Toast bread, then cube and fry in 1tbs olive oil.  
  Add almonds and cook till almonds are golden
-In the bowl of a food processer with a metal blade process pepper, 
  tomato, garlic paste, and raw till smooth.
-Add bread and almond mix and process again till smooth
-with motor running slowly drizzle in oil to form an emulsion
-season with juice of lemon, vinegar, cayenne and paprika

Tuesday, April 12, 2011

Migas

Over the last few weeks I seem to keep running into a word, Migas.  The odd thing is that it is describing two similar but very different things.  What is common to both is that they are made from stale bread, fried and flavored, but the end result is very different.  In Darina Allen’s 2009 book Forgotten Skills of Cooking she prepares an almond migas to garnish sautéed mackerel.  The almonds and bread crumbs are fried off in olive oil and garlic then tossed with parsley.   John Thorne, on the other hand, in  Mouth Wide Open, prepares a far more substantial migas with the bread cubed larger and fried so the outside is crisp while the inside remains melting.
There were some staled Amoroso wheat rolls in the kitchen so I decided to prepare both recipes.  I started with Allen’s preparation as it reminded me of the garnish Polonaise we made in school.  Polonaise consisted of bread crumbs fried in butter with parsley and minced hard cooked egg.  It’s most frequently seen topping vegetables like asparagus or broccoli.  When we made it with panko the results were underwhelming at best.  With that in mind I was excited to try the migas which seemed to use much larger crumbs. 
I started by putting some of the staled rolls into a bag and then went after them with a meat mallet till the majority of the crumbs were pea-sized.  A mesh strainer let the smallest bits fall away and I was left with only the larger pieces.  Next step required mincing garlic and roughly chopping some almonds.  I left the almonds chunky as well, the whole idea here seemed to be about texture.
I heated olive oil in a large sauté pan to just below smoking.  I didn’t want the bread to sit too long in oil before browning where they would soak in a lot of fat.  The bread went in and began to color.  A short while later I added the garlic and almonds which I feared would burn easily.  As soon as the nuts were golden the whole thing came out to a waiting bowl.  I tossed on Malden salt and a lot of fresh cut parsley before turning it out onto a paper towel to take up any extra oil.
It was salty and crunchy.  The toasted nuts added a richness and the parsley kept the whole thing from being heavy.  It was a big jump forward from the tired, soggy Polonaise that I remembered.  (I’m looking forward to revisiting that recipe now with ‘lessons learned’)  Tonight we would have the migas served over steamed green beans, but Karen wouldn’t be home for a few hours yet.  I fried off an egg and topped it with the Migas.  What a treat it added the bite and crunch to make the egg substantial and enough pep to overcome the rich yolk.
In doing some research on this article I came across an Italian preparation called Panne Gatata.  It was identical to the migas I just described.   It was even used in similar ways, to add a texture contrast or to introduce some salt/flavor contrast.  It was shown over risotto, noodles, and grilled fish which are all dishes which benefit from the addition of a little something toothsome.  It was also shown over a grilled quail in a salad, in that preparation I should think it’s intended purpose was to add flavor. 
Now John Thorne’s preparation took more time and was a bit more involved.  It started by liberally sprinkling salted water over the ¾” cubes of stale bread then wrapping them in a wet towel to sit for half a day.  They come out still very dry, not at all like a panada or a stuffing but more like fresh bread.  Into olive oil over  a moderate heat I sweated off minced red pepper, some spicy frying peppers, and onion till soft and the onion took on some color.  Then the heat went up and the bread and garlic went in.  As the outside of the bread turned golden I started to sprinkle on smoked paprika and a little cayenne, a little with each toss.  When all the bread was crisp it came off the heat for a handful of parsley and a pinch more salt (remember the bread was already salted).
This was substantial.  It was already meal-like without and meat or eggs.  The bread offered up a nice bite then yielded to a warm moist center.  It was almost like Thanksgiving stuffing was made bite sized and wrapped in a crispy shell.  Well, that would be true if you BBQ your turkey at least because the peppers and the smoked paprika gave everything sweetness and depth.  It had the flavors of great BBQ sauces; sweet, spicy, salty and a little fruity from the bell pepper.
Tonight I served the migas under eggs.  It worked well, the yolks adding some extra richness to the dish.  This is how Mr. Thorne recommends serving the dish.  Though I’ll easily admit, I’m looking forward to spring and summer when I can get out the smoker and serve this under some smoked chicken or grilled sausage.  With a little more chili for heat and maybe some scallions it would be great soaking up the fat from a beef brisket, slow cooked over charcoal.
Two very different dishes were added to my bag of tricks today.  One,  from John Thorne,  is an interesting new starch to break up the potato/rice monotony.  The other, from Darina Allen, adds a textural counter point to otherwise bland consistencies.  I can see it over mashed potato or risotto adding a little bite but it would also be amusing on grilled seafood or vegetables. 
Happy Cooking

Monday, April 4, 2011

Cumberland Sausage Pie


A Cumberland Sausage Pie is, or so I was led to believe in Britain: The Cookbook by Phil Vickery (2007), a thick layer of pork sausage, generously flavored with leek, in a flakey pastry.  As it’s been a while since I made pastry; and as Karen had left a pound of sausage in the fridge, I can’t think of anything better for dinner.
It seems that everyone has a way with pastry that is “foolproof”.   I have to admit I’m no exception, but before I share my way with flakey pie crust let’s talk about what it is.  For pie crust to be flakey two things have to happen.  First, the gluten, a protein that forms when water and flour are mixed, must not be too strongly developed.  This is why it is imperative that once water is added to the flour that you work quickly and decisively.  The more the dough is worked at this point the tougher it will be.  The second concern is that the layers of gluten be thin and separated by layers of fat.  This is the purpose of the butter in the recipe.  Most techniques call for the cold butter to be cut into the flour with a cold knife, or a u-shaped tool designed for this purpose.  My complaint with that is that it creates little round balls of fat which it is assumed will be flattened out as the dough is worked;  but as I stressed earlier working the dough more than necessary will toughen it.
The technique I prefer is the following.  Start in a cold bowl.  Measure out the flour and toss in a pinch of salt,  salt helps bring up the flavors from the flour.  Next cut up the butter, cold from the fridge, into cubes of about half an inch and toss them in the butter so that they are well coated.  With your hands reach into the bowl and take hold of a cube of butter and flour and press flat between thumb and index finger.  Continue in this fashion till all the cubes have been flattened.  They will naturally break up into smaller pieces but you will want to scout out the larger pieces and make sure they are broken finer.  At this point the larger the flakes of butter coated in flour are the flakier the pastry will be.  If the flakes are fine and crumb-like the pastry will be firmer, more like a shortbread.  Once the flakes are as you want them add ice cold water and with a cold fork rapidly incorporate it with as few strokes as possible.  Gather up everything into a ball and wrap it in plastic.  Refrigerate for at least a half hour.   This will give the gluten a little time to relax and will let the butter firm up.  The dough will then be ready to work with.
Mr. Vickery’s pie, which he attributes to his grandmother, seemed alluring enough but a bit frumpy.  It’s only seasoning being torn basil and the boiled leek.  For my dinner I thought I might give the whole thing a bit of a makeover and bring in some French flavors.  With that in mind, to a pound and a half of sweet pork sausage I added two eggs, herbs de province, and a stout quarter cup of cognac.  The corner market failed to produce leeks so I slowly cooked half an onion to a rich mahogany color in a slow pan with butter.  This went into the mix along with the now nutty browned butter.   On the whole it still lacked a little life and pep.  A bunch of chopped parsley was a good start, but rummaging in the pantry something better came to hand in the form of dried cherries.  I plumped these in warm water and added them in.  Finally a big handful of bread crumbs finished the mix.  I was scared the sausage would give up too much fat and make the crusts soggy, the bread crumb should soak this up before it becomes a problem.
By now the pie dough had rested and it rolled out easily.  I used two thirds of it to line the bottom of a nine inch pan then packed in the filling, mindful not to leave any large air pockets.  This was covered with a second crust, crimped down and decorated with a small braid from the scrap.   Always with pastry of this sort an egg yolk brushed on the top will yield a rich golden color.  To make the crust more appealing I generously coated the top, within the braid, with onion seeds and smoked Malden salt.  Both of these added bite and crunch to the final meal.  Before going into the oven I cut vents and added some garnish from the pastry scrap.
Along with green beans the pie made for a filling meal with lots left over for the next day.  The cherries proved a much needed addition providing a capricious sweetness wherever they appeared.  I will be tempted to add more fruit to my next attempt; definitely raisins and sultanas.  I also think pine nuts or pistachios would add a nice texture change in the next pie.
Vichary recommends the pie cold and doesn’t even suggest cutting into it the day it is made.  I don’t have that much self control.  I will say the leftovers have been great –topped with runny eggs in the morning and eaten cold from the hand while driving to errands the next day.